Sunday, 13 October 2013

KaiserCraft - Beyond the Page - Mini Gift Album

Good Morning,

Going through my older photos (my Husband went away camping for a week and had my camera with him - so I was spending time looking at previous projects...) I found a mini album I had made as a gift for my Teacher.  The Kaisercraft  mini album had a few chipboard pages as well - I only used the chipboard for the cover and the back and have saved the other pages for another project.


Front Cover:  The cover had the windows already cut out, I stamped the background with Judikins Daisy Block - which I have used throughout the book... I stamped the back cover and on some of the purchased flowers.  The Dragonfly is a Scrapmatts Chipboard dragonfly which I glued a yellow piece of paper in behind to co-ordinate with the flowers.


 Back Cover.


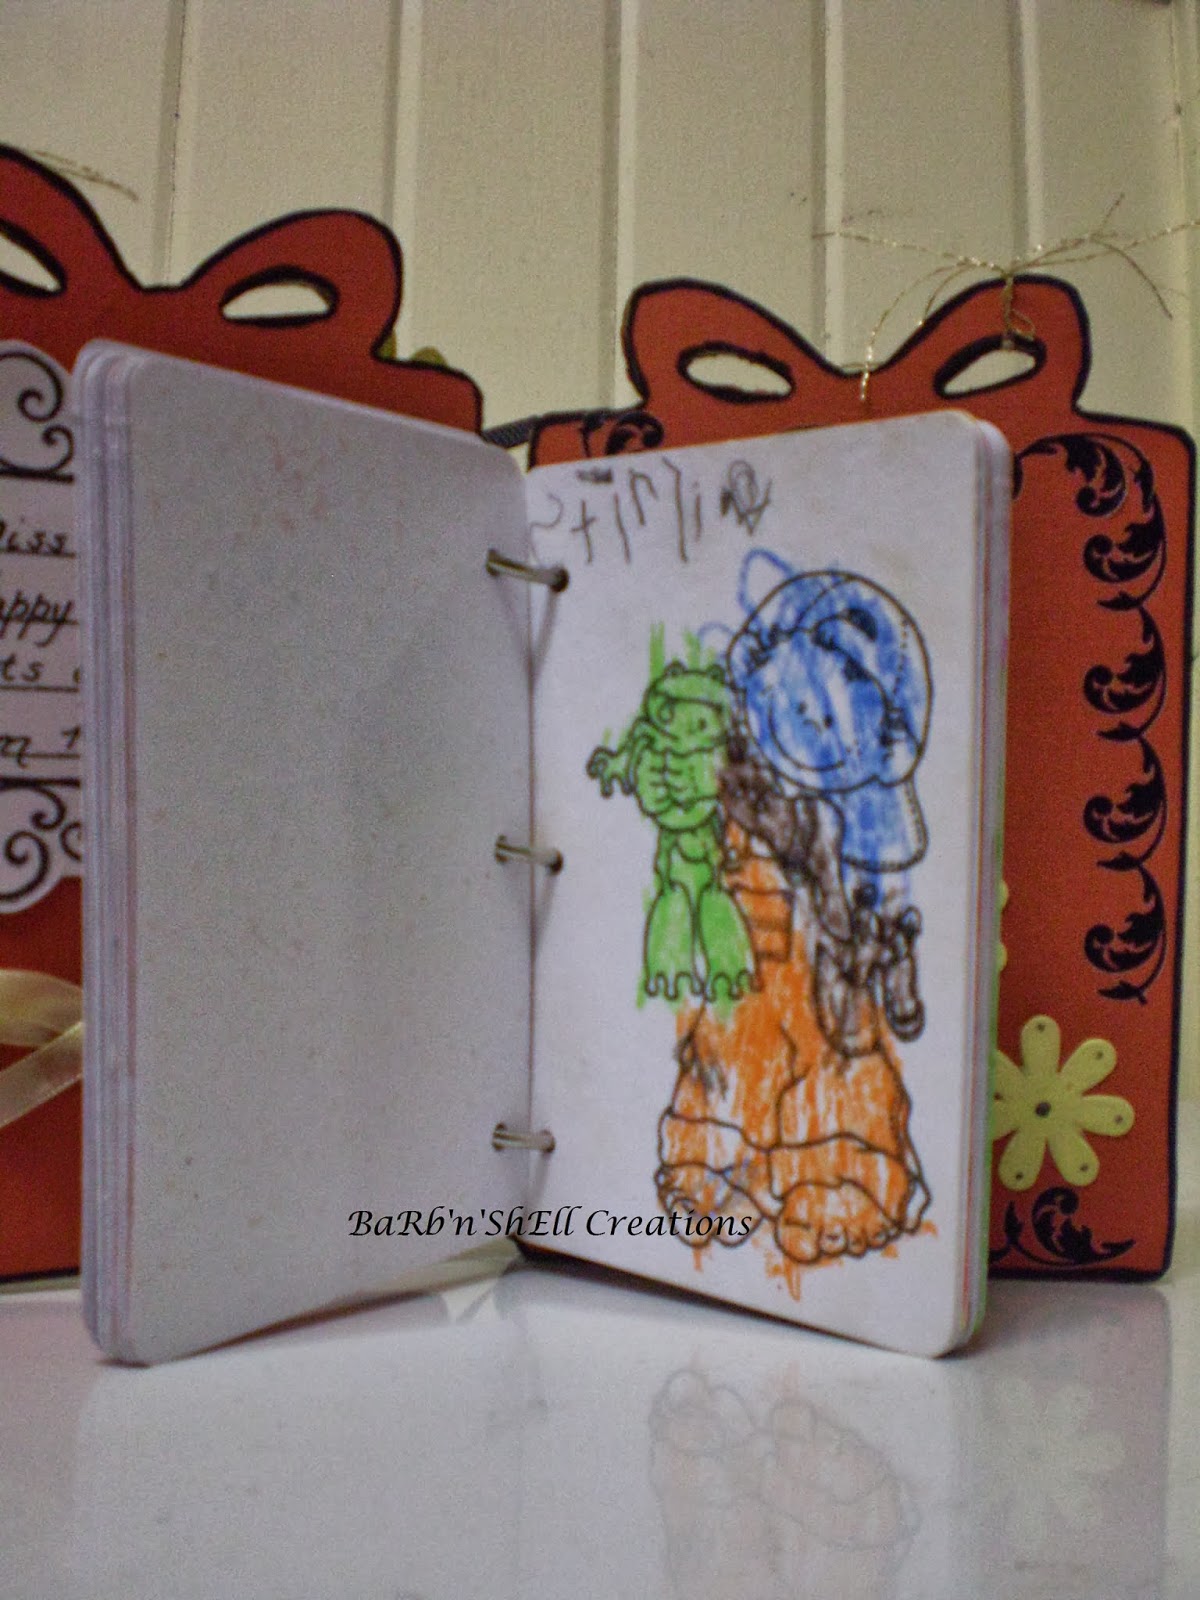
The inside pages: I stamped a heap of images and took them to school and had the children in our class colour them in and write their names - very cute hey??  The images are:  Left: Hero Arts - Girl Holding Flowers, Middle: Hero Arts - Girl with Gift and Right: High Hopes - Froggy Gift.  I remember the children loved being so secretive and trying to not let our Teacher know we were making her a present... shhhh!!!


I made a matching card to go with the gift.  On the tag I used Semco Crackle Paint over the top of Semco Metallic copper paint - it was very shiny.  Used flowers and stamp same as above.
 
A treasured memory to keep forever from our Class that Year.
I just about have the next project ready to blog about - see you soon!
Shell
xox


Thursday, 10 October 2013

Stampin' Up Aviary, Punch Bunch, Owl Together Now, Confetti

Good afternoon,

Owl addicts - have a look at this really cute project I have created....  Owly Bookmarks!!


My Teacher always gives the children in our class books as their End of year / Christmas gift - so I have been making a bookmark each to go with their books - great idea isn't it??  A personalised owl bookmark - what more could you want??
 
For the Girls I used pink, purple and black.  I have used blue, red and black for the Boys.
 
The large black owl in the bottom corner is from Stampin' Up's - Punch Bunch.  Flying owl and side peek-a-boo owl are from and old Stampin' Up Set - Owl Together Now and the little owl is from Stampin' Up Set - Aviary.  The itty-bitty alphabet is from Stampin' Up's Set - Confetti.  (Last year I used the little leaves from Confetti but this time I thought I would use the alphabet instead!).  The Children's names are stamped using a PaperCraft set named Italic Alphabet.
 
I stamped a "handmade by" stamp on the back, then laminated, rounded corners and added ribbons to finish them off. 
 
A very practical present - don't you think?
 Create a bookmark today!
Shell
xox

Creating with BaRb blog-Stampin'up-Christmas Tags Folder

Hello Everyone
These Christmas tags in a folder make an excellent end of year gift.

The folder has an accordian folded spine and a cover and pages in black card. The embossed front and back cover sections are in vanilla card, and then sponged over with cherry cobbler ink. The tags themselves are in sahara sand and natural white card. They have been die cut with the two tags, and another sizzix die. The smaller gift tags have been punched.
Each tag has been stamped using various sets then coloured, sponged and highlighted with stardust pens, shimmer paints and dazzling details glues. On the back of each tag is a Christmas sentiment and a to-from stamp.
The front is embellished with  glitter snowflakes, brads and a Merry Christmas label. A ribbon has been tied around to hold the folder closed
Each page has a pocket on the back to hold the tags, and on the front of the page is a sample of the tag.
I hope you have enjoyed this project and thank you for visiting.
BaRb

Tuesday, 8 October 2013

Stampin'up - Santa's list

Hello everyone
Summer is certainly here, too hot for Santa's suit, so I had to create a frosty scene for this stamp design.
 I have reversed a canvas and lined the inside with white card. The paper on the outside is from Eastern elegance pack. An aperture was die cut using sizzix rounded tags die. A second piece of white card was die cut and added behind, and the top left corner was then embossed with Northern flurry folder. Some silver snowflakes(from Warmth and wonder) were stamped and the Greetings stamped and then embossed in black powder.
 I stamped Santa in black stazon, onto more white card, masked him, and then stamped Special season tree in olive, and the small snowflake in silver metallic ink. Santa's beard is coloured with white gel pen, his gloves in white craft ink,  his suit and hat in cherry cobbler, and his face with crumb cake. Dazzling details and gold marker highlight the decos on the tree.
The moose is from Walk in the Wild, stamped in suede, cut out and coated in crystal effects.
The two outside trees are from lovely as a tree, stamped in olive and suede marker and cut out. They are sponged with white craft ink to look misty. A strip of basic grey card has been embossed in square lattice folder and added across the bottom, sponged in white ink and painted with frost white shimmer. The sentiment is stamped in black stazon. The die cut leaves are stamped, coated in crystal effects and glittered.
Santa's hat, sleeve cuffs and coat front have been coated with polar white Flower soft, and a small pom pom added to his hat. The pieces were then all assembled, the outside trees and embossing were painted in shimmer white frost, a naturals button tied with twine and a small silver paper star added beneath the leaves. A few rhinestones in the snowflakes, and a frosted embellishment in the top left corner finished off.
This design is great on an easel or can be used as a wall hanging.
Enjoy your week and have fun crafting
BaRb


Sunday, 6 October 2013

Mini Album

Good Morning, had a bit of a moment there - where I thought I had lost an hour - must be daylight saving or something - some of my clocks / mobile phone / t-hub etc said an hour later than I thought it was... whew I will just change those ones back an hour thanks!  No Daylight saving here!

The Mini Album I have for you today is one I bought on a great special (only $3 or $4 dollars).  Sorry made it about a year ago and cannot remember which brand it was......  It came in a kit with a couple of chipboard shapes - hearts etc and the word Dream in really large chipboard letters and as you will see I did not use the word.


The front cover. The album was designed to be a concertina album to incorporate the word - Dream - but I changed the design to be a book style instead.  As there was holes down both sides of every page I added ribbons in every hole. (Sorry about the not so great photos! who knew I would one day blog this album !?!)
 The inside pages.  My Daughter was invited to the party of her friends little sister - so I added lots of little girly stickers and things.

 In the gift we also included
more  packets of little 
stickers for her to add her own.


 The last page and the back cover.
 I put a large shaker sticker on the back.  Georgina loved the present - who wouldn't I guess...
 
On the front cover, with a large chipboard heart from the kit -  I added lots of red bling - butterflies, flowers, rhinestones.  They are hard to see but near the tag are some small fairy charms etc.
 
I think mini albums would be one of my most favourite things to create - this was a very simple one and I can't wait to show you the "travel' mini album I have just finished - will take photos soon....
 
Don't forget to change those clocks if you need to!!
Enjoy creating today...
Shell
xox


Saturday, 5 October 2013

Kaisercraft - Pencil Holder, Stampin' Up - Asian Artistry

Hello Crafty Friends,

This morning I would like to show you a pencil holder I decorated - Kaisercraft Off the Page Pencil Holder.  First I painted the holder with a Mont Marte metallic green paint - it is such a beautiful colour.  I then added a row of thick dark brown ribbon (I guess you could call it ribbon?) around the bottom.


I then stamped the bird from Stampin' Up's set - Asian Artistry and oval die-cut the image.  I coloured  really simply - by basically just line colouring the image.  I then stitched a row of brown and gold ribbon around the oval finishing with a bow off-centre at the top.   The words "Life is a matter of moments" is from the Stampin' Up Set  - Elements of Style.


I added a row of bronze type coloured pearls around the top and added gold corner stickers on every side.  The last thing I did was to put a layer of felt on the inside of the pencil holder to give it a more finished look.

How lovely would a project like this look sitting on your desk!?!
Have a crafty day!
Shell
xox

Wednesday, 2 October 2013

Christmas Beads and Phone Charms

Good Morning,

Wednesday Woo Hoo - another addiction revealed - luckily my addictions are good for me!!  This addiction is...... making phone charms.... not for me to keep (thank goodness) but to give away as gifts.  Most of my friends and relatives would tell you that they have at least 1 phone charm that I have made for them.  I think the first phone charms I made were the Angels I blogged about a few days ago.  The second ones were these beautiful dragonflies....


Every Christmas I try to give Family / Friends a phone charm - here are a few examples of some of the ones I have given - I have also made other Christmas Trees, Snowflakes etc...


Last year I found these kits at Beads Online and had to buy them!  I also purchased more of the domino / wooden tiles /beads thinking they were the same - but they were actually smaller and had holes in the sides as well - so I just wired beads through those holes as well - except for the black ones (the non Christmas ones) - I just left the side holes empty.

The dominoes were blank, I used diamond glaze to adhere the picture and then added another layer of diamond glaze - and it is as easy as that!
 

 This is a closer view of the Santa ones.


I chose small sections of some of my favourite papers to make these ones.


I have also made many other charms - owls, Australiana etc - your imagination is only limited by your bead choice!!  What charms do you have hanging from your phone or your bag??

I will have to decide which charms I am making this Christmas.....
Have a great day!
Shell
xox