Showing posts with label Make It Crafty images. Show all posts

Tuesday, 12 March 2019

Birthday Cards - Make It Crafty - Tress...

Hello,

I have purchased quite a few Make it Crafty stamps over the years - they have rubber stamps as well as digital stamps available. These following cards were created using Make It Crafty's rubber stamp set - Tress. There is four images of Tress in this set and here are all four...


Top Left is Skating, Top Right is Joyful, Below Left is Winking and Below Right is Dancing.


Tress is a busy girl! Background papers are from a selection of Kaisercraft Paper Pads. Happy Birthday is Stampin' Up's Itty Bitty Banners. Decorative Punch edge is a Fiskars Punch. Images are coloured with a ink patted on a stamp block and a waterbrush.

Thank you for visiting us,
Shell
xox

Saturday, 15 October 2016

Jotters... Assorted

Hello,

Notebooks in all shapes and sizes always come in handy - I have them all over the house! I purchased some of these Jotters / Memo Pads, they are a fantastic size and have many pages - chunky!


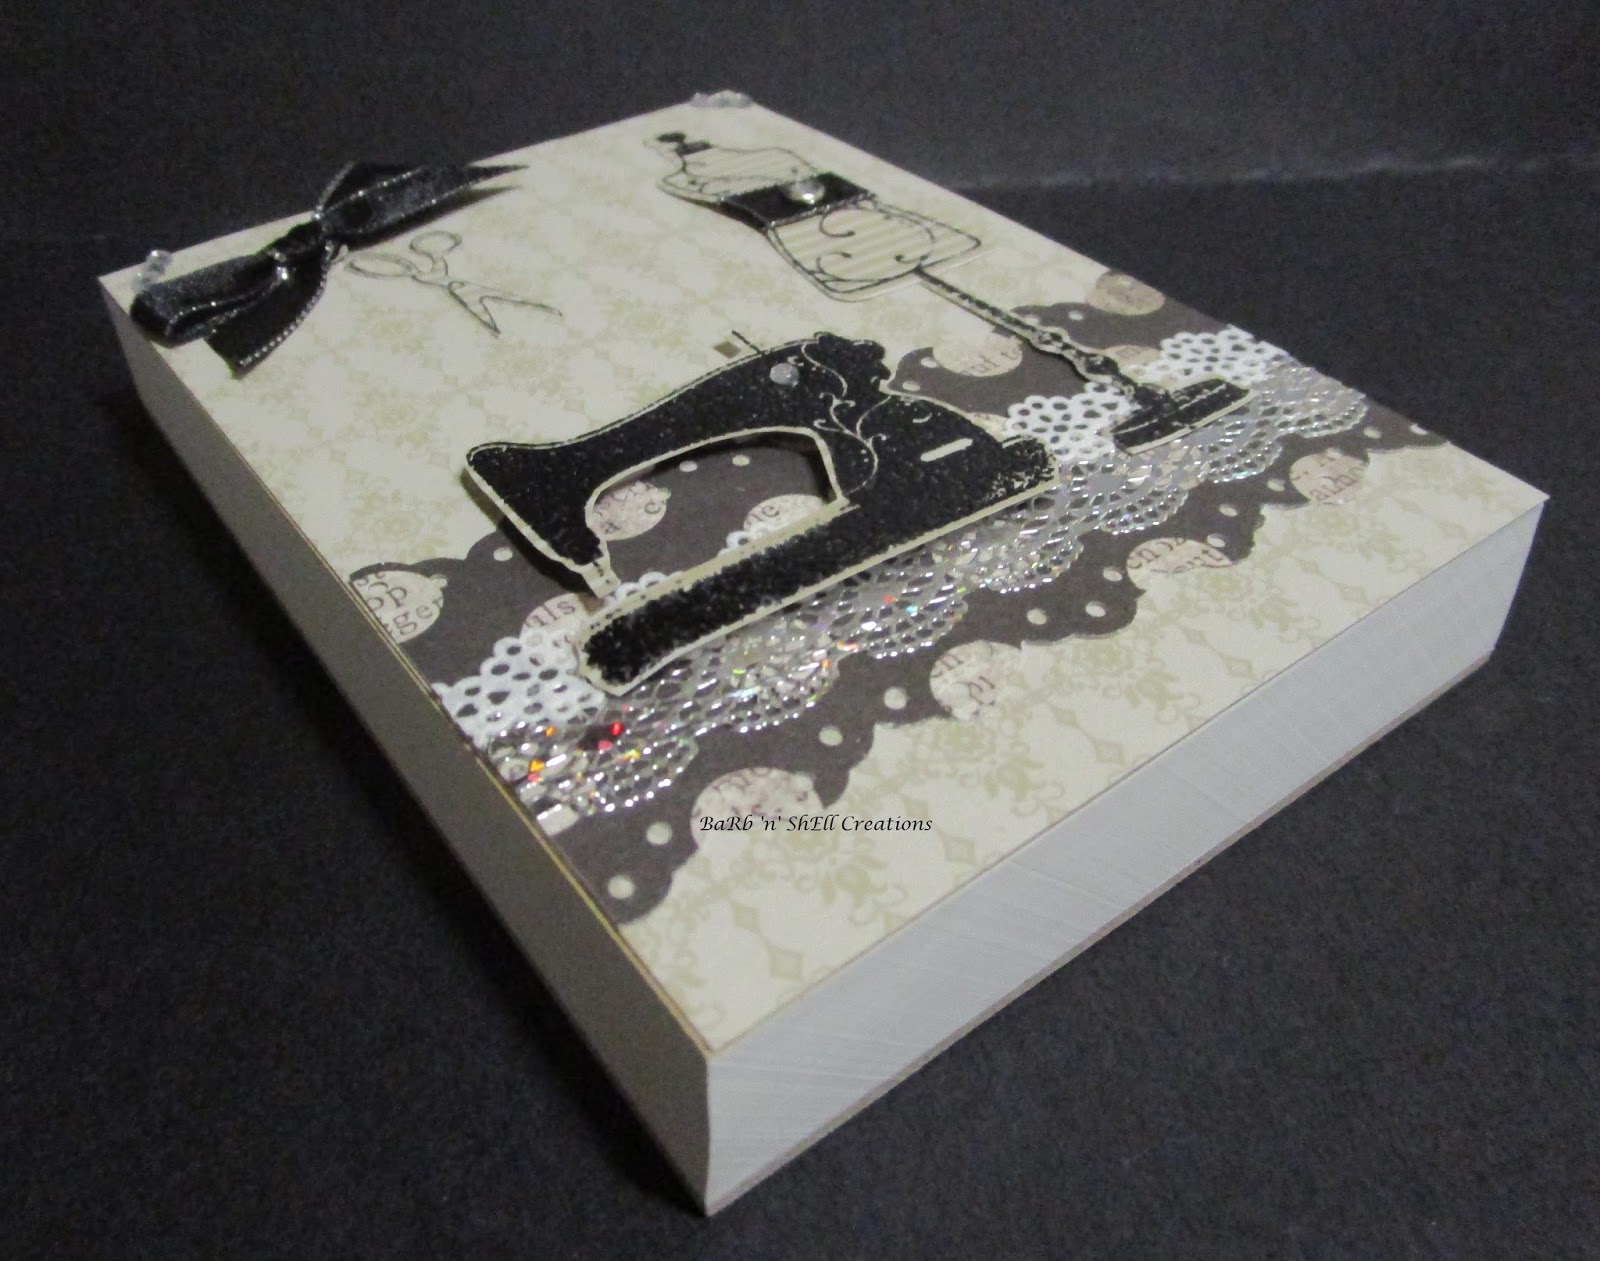
I then decided to decorate the front covers, using a selection of products and themes...

Make it Crafty Tress - Joyful


Stampin Up Paper and a butterfly punch


My Favourite Things Dienamics - Sew Nifty


Stampin' Up - The Open Sea


Frantic Stamper Inc Die - Tea Set


Very useful and of course these are another fabulous gift idea!

Thanks for visiting
Shell
xox

Wednesday, 23 April 2014

Quick and Easy - Girl Birthday Cards

Hello,

Just in case you missed them all - (hehe! - now you will have to go back and look) - here is a photo of all the little girl cards I have just created and blogged for you...


All the images are from two fantastic stamp companies - Make It Crafty and The Greeting Farm.  If you missed my last few posts and wish to know which sets have a look back for the names of each individual set.

All the birthday wordings are from Stampin' Up sets. If you are looking for Stampin' Up Supplies visit                - BaRb's Stampin' Up online store

Thanks again for visiting!
Shell
xox

Tuesday, 22 April 2014

Make It Crafty - Melody Birthday Card

Hip, hip hooray - we have come to the end of my quick and easy little girl cards!!  Oh no! I hear you say.... It is alright I have created some other quick and easy cards - with flowers and butterflies and things - don't worry I will show them to you!

Melody is excited about it being someone's birthday!  Melody is from the Make It Crafty 60s Fashion Girl set - I think this is a set I will use quite often!


Isn't she gorgeous with her flowing hair and matching dress and scarf?!? 

I couldn't resist adding some rhinestones to this card - only a couple..... really........

The great birthday wording on this card is from Stampin' Up's Happiest Birthday Wishes set - fabulous isn't it!

Have a special day (even if it isn't your birthday!)
Shell
xox

Monday, 21 April 2014

Make It Crafty - Cynthia Birthday Card

Morning

Pearls and flowers - what a beautiful combination.  Today's 60s Fashion Girl is Cynthia - she loves her pearls and flowers so much that she has plaited them through her beautiful long hair...


Once again (if you have been following my quick and easy girly cards) I have stamped, black embossed and  then coloured her image with markers. The Birthday wording is from Stampin' Up's Simply Sketched set - black embossed directly on to the pre-printed card.

I added Distress Stickles - Tea Dye to her hair for some sparkle.  I generally overlook my pearls and go straight to rhinestones - I love the look of the pearls on this card so I will have to remember to use pearls more often!


Enjoy your day!
Shell
xox


Sunday, 20 April 2014

Make It Crafty - Felicity Birthday Card

Good Morning,

Felicity is a 60s Fashion Girl from the Make It Crafty Stamp Set - she is bopping (and I say bopping because she's from the 60s) along to her favourite music - I can't help wondering which song she is listening to?


After I stamped and black embossed her image - I searched through my stash for the right card and this orange and lime green card seemed to suit her just perfectly!

I coloured her with markers (just a reminder these cards are quick and easy so no shading etc for the colouring) and then added kindyglitz to her hair, shorts, boots and beanie.

Multi coloured rhinestones and black embossed wording from Stampin' Up's set Great Friend finished the card.

Do you have a favourite song from the 60s?
Shell
xox

Thursday, 17 April 2014

Make It Crafty - Crystal Birthday Card

Good morning!  Hope you are having a great one!

Today's card features another Make It Crafty - 60s Fashion Girl image and her name is Crystal.


The background card for this one is very brightly coloured - so Crystal had to stand out with her dual coloured hair!  I added Kindyglitz to her hair as well for added sparkle.  Rhinestones in opposite corners for more sparkle! Bling, bling!

The wording is from Stampin' Up's Happiest Birthday Wishes - which is such a fantastic set - it includes stamps you can use for the insert of your card as well - remember if you are looking for Stampin' Up Supplies link through to BaRb's Stampin' Up Blog and you can order online!

Enjoy the rest of your day!
Shell
xox


Wednesday, 16 April 2014

Make It Crafty - Desiree Birthday Card

Hi there,

Continuing my quick and easy birthday card makes - I have another card to show you...

This is Desiree - she is a Make It Crafty - 60s Fashion Girl - with those mini shorts and knee high boots - I just had to make those mini shorts (or should I say 'Hot Pants") gold and glittery!


I used a pre-printed background card and I stamped and black embossed the birthday wording from Stampin' Up's Wow Flowers set straight onto the card. I also stamped and clear embossed a row of flowers across the top (from an Inque Boutique stamp set) to which I added black rhinestones.

Her hair beads were accentuated with Liquid Pearls in Ivy Green and the gold I used on her headband and on her shorts is gold Kindyglitz.

Back tomorrow with another card to show you, 
looking forward to seeing you!
Shell
xox


Saturday, 8 March 2014

Wedding Cards - For the Bridesmaid - Steampunk and Flowers

Hello, Hello

Todays cards are for the Beautiful Bridesmaids... I have shown you my cards for the Bride and for the Groom - now for the Bridesmaid.  I have made four cards and will show them all to you here in one post.  There is something for different tastes and the first cards are for the Steampunk Bridesmaid...


Don't you just love her???  She is a Make it Crafty Rubber Stamp and her name is Annabelle - I bought her from Stampin Stuff in Cairns.  I embossed the card base and the top label.  Layered a Stampin' Up Brushed silver Label - Spellbinders.  Die-cut some cogs in the brushed silver. Handstitched 3 silver crosses and added some rhinestones and sparkle pen to Annabelle.  Tucked in a Thank-you tag made with a Stampin Up Punch.


This beautiful Steampunk Girl is also a Make It Crafty Rubber Stamp - her name is Elizabeth J... Cool huh!
I used a lot of the same materials as above to create this fantastic card.


This is Miss Anya of course - from the Miss Anya Collection made by The Greeting Farm.  Black embossed, raised on an oval die through which I threaded silver ribbon, then layered onto an embossed white layer onto a silver background.


A splash of colour for this one - CC Designs Swiss Miss - Rosalie with Roses is the name of this gorgeous little 'Bridesmaid".  I used patterned paper from my stash, handcut the bottom two banners and punched the triangular banner with a Stampin Up Punch.  The Love Tag is also a Stampin Up Punch.  The charm says 'Made with Love'.  I used rhinestones and my sparkle pen on this card also.

Phew, nice long post - maybe I should have said to make sure you had a cuppa with this one!!  I wanted to show you all four cards at once - cards to suit totally different tastes.. Steampunk and flowers. (If you wish to know the exact brands etc that I have used - please just send me an email or comment)

These cards will also be available in our online store - don't forget to pop in and have a look at all our goodies for sale!!!!

Love all things Steampunk!
Shell
xox

Sunday, 20 October 2013

Make It Crafty - Mushroom House - Mini Canvas

Good Morning - another beautiful Sunday morning!!

Don't you just love mushrooms - don't like to eat them (only on pizza of course).  This beautiful mushroom is a Make it Crafty rubber stamp named - Mushroom House.  I needed to make a birthday gift for a person who loves fairies - I have angel stamps, many little girl stamps, princess stamps but surprisingly - no fairy stamps.....   So, when flicking through my catalogue of stamps - (yes every stamp that I own I have stamped into a catalogue i.e. a ring binder - so I know what I have and where to find it in my craft room) - I saw this Mushroom House and knowing I have fairy charms thought it would be perfect!


I stamped and black embossed the mushroom house image and coloured it with Twinkling H2Os.  I used diamond glaze and glitter to 'highlight' white parts of the mushroom.  First I covered the canvas with patterned paper (freebie from a magazine).  Used part of a strip of grass along the bottom from a Sizzix Grass Die.  Added a saying which reads:

Live among the flowers
Dance with the petals
Laugh in the sunshine
 
Inspiring isn't it! The saying is from Prickley Pears stamp set - Flowers.  I black embossed this on white, mounted it on the same patterned paper and them mounted it again on black to make it stand out.  I then added my Fairy charm with a brad and sat this in behind the corner of the house.  I hadn't originally put the sun on there but felt it was lacking something - my beautiful crafty friend (who I was crafting with at the time) suggested a "sun" to fit in with the saying - so I used the sun from Pollycraft Surf's Up stamp set.  I clear embossed this on yellow card and it goes perfectly - thank you crafty friend - great suggestion!  


Added a red ribbon around the bottom and made a double bow for the corner and ta-da finished!
This was one of those 'secret' birthday presents - so I have no idea of the recipients reaction - hope she loved it!

Enjoy the rest of the weekend!
Shell
xox